
Infectious Smile Elimination Mode Survival Guide and Rules
Infectious Smile elimination mode pits survivors against an expanding group of infected players in a five-minute round. Humans get a thirty-second head start to collect gear and hide, winning if a single survivor remains standing when the timer expires.
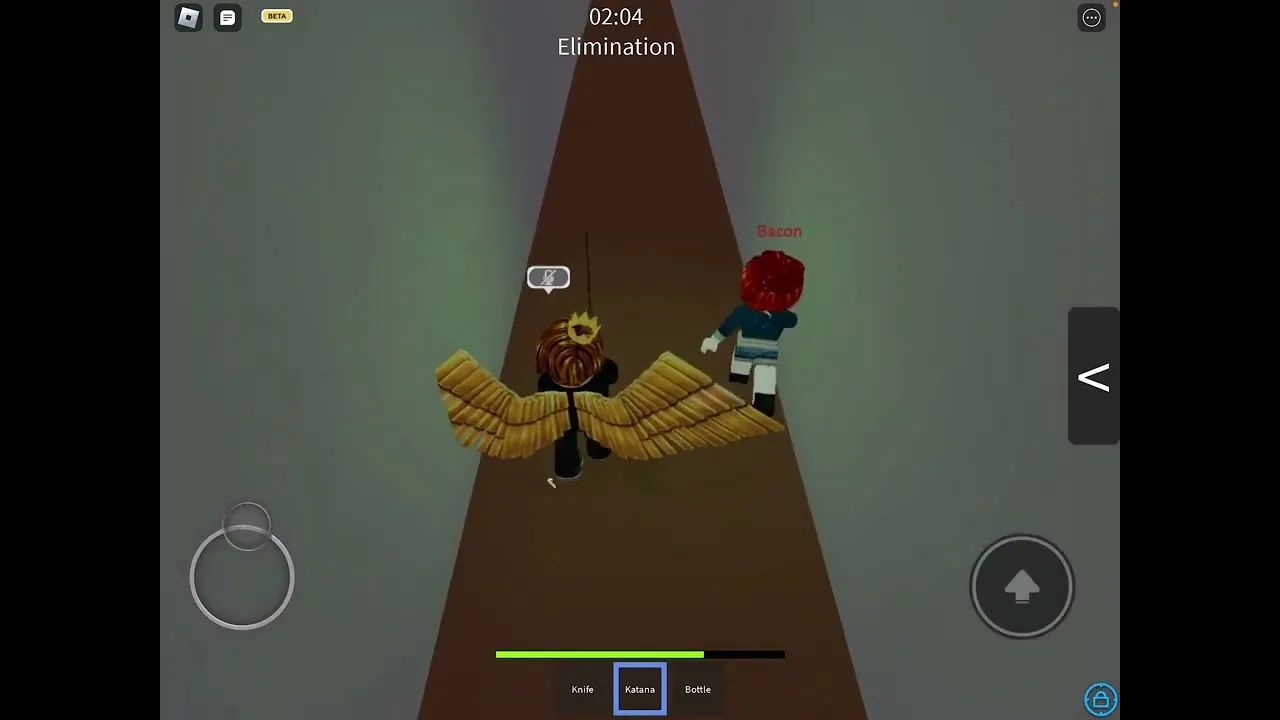
Infectious Smile elimination mode pits survivors against an expanding group of infected players in a five-minute round. Humans get a thirty-second head start to collect gear and hide, winning if a single survivor remains standing when the timer expires.
Round Format and Core Rules
Elimination mode runs on a dedicated five-minute countdown accessible through the game mode selection interface or the join prompt at spawn. Each match begins with a thirty-second preparation head start where every participant starts on the human team. During this interval, Rob drops down beneath his counter at spawn, preventing players from stocking up on extra bottles or standard starter items once the timer begins. Any player who touches an infected hazard or falls off the map during the initial thirty seconds dies immediately.
When the head start ends, the game displays the alert message stating that panic begins as the infection spreads. Five random players become infected Smilers to form the initial hunting squad. Any human caught and infected during the round converts permanently into a Smiler for the remainder of the match. Healing zones like Swamp of Sadness and Crossriver never generate in elimination mode rotations, meaning an infection cannot be reversed.
Victory requires at least one human to survive until the full five minutes expire. Completing a full round as a surviving human grants the Expert Survivor badge, which counts toward rare server badges. If the Smilers convert every human before the timer hits zero, the infected team wins. Immediately following round completion, the main stages drop into the void, resetting the environment for the next cycle.
Defensive Weapons and Escape Tools
Surviving against coordinated infected players requires gear that either grants mobility or breaks grabs. Before the round starts, players must grab standard weapons from spawn or rush toward stages with guaranteed drops. The standard bat deals roughly ten damage with balanced swing speed, but its single-target focus leaves survivors vulnerable against multiple attackers. In contrast, purchasing the katana provides a slight speed increase that matches standard Smiler movement, allowing players to outrun pursuers and free trapped allies through rapid strikes.
Holding a knife allows players to break free from a grab by spending four points of durability, dealing damage to the attacker in the process. However, this escape fails against Giant Smilers or targets buffed by an iron potion. The handgun offers another method of freeing yourself while grabbed by discharging rounds directly into the Smiler, though recoil requires steady centering.
The table below shows the defensive characteristics of primary survival gear:
| Defensive Option | Best Combat Scenario | Trade-Off |
|---|---|---|
| Katana | Escaping pursuers and rescuing grabbed allies | Low base damage of two points per strike |
| Knife | Instantly escaping a solo Smiler grab | Consumes four durability and fails against armored targets |
| Shotgun | Halting pursuers in narrow choke points | Carries only three rounds before depleting |
| Handgun | Counterattacking during grabs and firing at distance | Has noticeable recoil and lacks a stun effect |
Survivors who hold the VIP gamepass spawn with a knife automatically after a fifteen-second cooldown, providing consistent escape potential across rounds.
Map Selection and Stronghold Tactics
Effective tactics for how to survive as a human depend heavily on map choice. Stages with automated hazards or narrow vertical entries offer the strongest defensive positions. The Boiler Room features steam vents that damage approaching Smilers, while the upper walkway contains a handgun pickup. Groups can hold the upper platform and pick off climbers before they cross the hot pipes.
Halls provides another reliable stronghold on its second floor. Humans can operate wall switches to lower window barriers that act as shields against Smilers, while preserving a secondary drop route if pursuers break through. In Streets, tightrope electrical wires lead to a knife spawn, forcing Smilers into single-file paths where jump attacks can knock them down.
Certain maps create severe disadvantages for human teams. Vents features tight passages that leave survivors trapped if two Smilers enter from opposite sides. Runic Construction Site and Cinder Canyon serve as large elimination layouts with minimal cover and extensive drop hazards. When traversing maps with moving platforms or thin beams, keeping shift lock active allows tighter camera rotations to detect incoming flankers.
Infected Role Mechanics and Hunter Tactics
Smilers rely on mutations, consumable drops, and group pressure to overwhelm human holdouts. When assigned to the infected team, players occasionally receive single-use items such as speed potions, jump potions, or a taser. The taser immobilizes a human target for five seconds, neutralizing their ability to fight back or escape across gaps. Using a taser on humans standing in flooded terrain electrocutes everyone in that water source.
The Overseer mutation gives Smilers an outline advantage through stage walls, rendering human torsos in orange and infected allies in white. Overseers can track hidden survivors crouching inside lockers or camping behind blast doors. Sharing this positional awareness allows infected teams to coordinate pincer attacks rather than charging alone into katana swings.
When targeting humans equipped with escape tools, Smilers can drag grabbed targets directly into bright white infecting lights or environmental pits. This eliminates the chance for the victim to use knife escapes, ending the struggle immediately and accelerating the infection count across the server.