
Infectious Smile Bottle: Stats, Combos, and Spawn Guide
The Infectious Smile bottle is a free secondary weapon acquired directly from Rob at the human spawn counter. It delivers two high-damage melee hits with a 1-second cooldown, inflicting an initial stun and a knockdown that halts hostile Smilers.
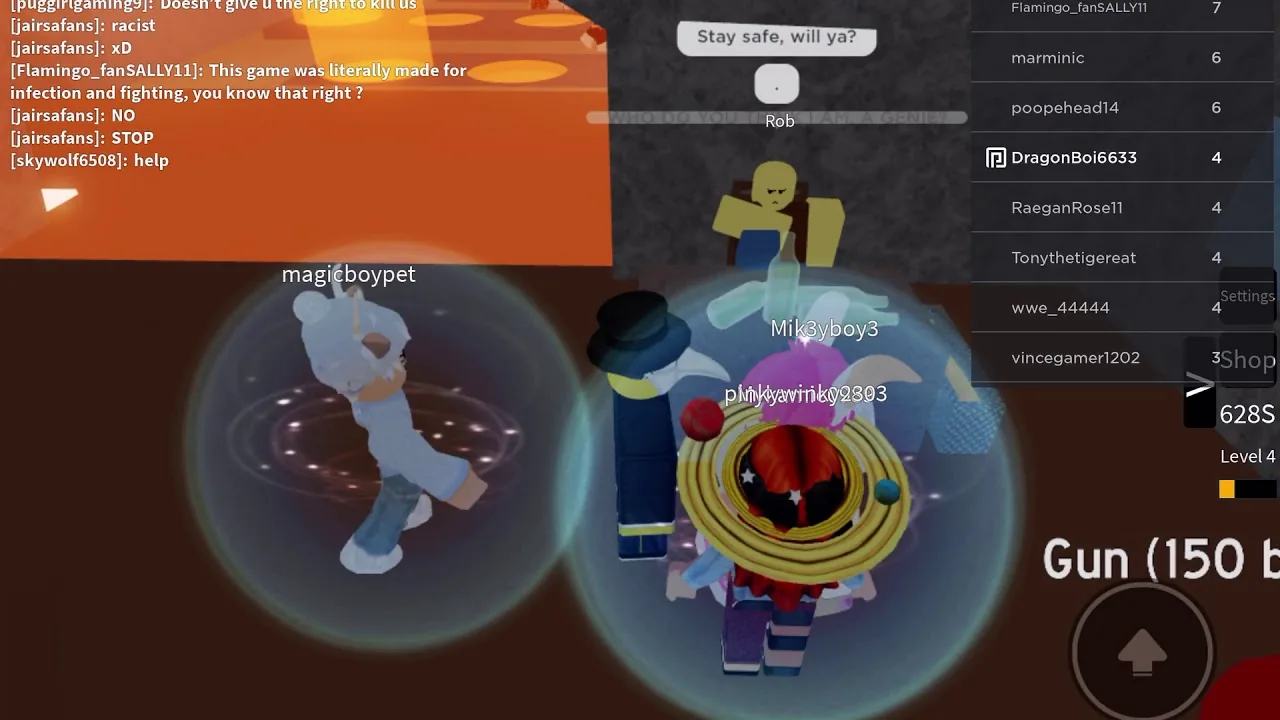
The Infectious Smile bottle is a free secondary weapon acquired directly from Rob at the human spawn counter. It delivers two high-damage melee hits with a 1-second cooldown, inflicting an initial stun and a knockdown that halts hostile Smilers.
Bottle Stats and Core Combat Mechanics
The bottle serves as a secondary melee tool that human players equip alongside a primary weapon. Each bottle possesses a durability pool of 2 hits before shattering permanently. Striking an enemy yields 1 coin per successful connection, generating 2 coins across its full lifespan.
| Combat Attribute | Base Value | In-Game Effect |
|---|---|---|
| Durability | 2 hits | Breaks completely after landing two successful attacks |
| Base Damage | ~20 per strike | Two hits remove roughly half of a standard Smiler's 100 health |
| Cooldown | 1 second | Dictates the delay between the first swing and the second swing |
| Primary Hit Effect | Short Stun | Freezes the target momentarily in place |
| Secondary Hit Effect | Knockdown / Ragdoll | Floors the target for 1.6 seconds with 50% extra knockback |
| Coin Reward | 1 coin per hit | Grants 2 coins total across full durability depletion |
Landing the first strike produces a glass shattering audio cue and induces a brief stun. Connecting the second attack triggers a bottle-throwing sound and sends the infected target into an active ragdoll state. While earlier game versions featured a 2.0-second ragdoll, balance adjustments updated the duration to 1.6 seconds while expanding knockback distance by 50%. On graphics settings below level 4, the bottle mesh renders in white rather than its standard green tint.
Secondary Weapon Decision Matrix
Choosing when to expend bottle durability depends on enemy distance, your active primary item, and whether you are fighting solo or near a team. Evaluating your equipment options on the weapon tier list helps identify appropriate loadouts.
| Weapon Option | Target Combat Scenario | Durability and Cooldown Cost |
|---|---|---|
| Glass Bottle | Single-target burst damage and instant knockdowns | 2 hits before shattering; 1-second attack delay |
| Wooden Bat | Sustained defense against isolated individual targets | 10 hits before breaking; standard swing interval |
| Katana | Crowd rescue and high-mobility escape maneuvers | 50 hits before breaking; minimal stun on hit |
Melee Attack Combos
Because the bottle exists as a secondary item, humans can alternate between it and primary weapons to bypass attack delays. Using a bottle strike immediately after hitting a Smiler with a primary tool creates guaranteed damage chains that prevent infected opponents from initiating grabs.
- Bottle and Bat Rotation: Striking once with the default bat, switching to the bottle for two consecutive hits, and following with another bat strike depletes roughly 70 to 80 health points before the Smiler recovers from knockdown.
- Branch Heavy Burst: Landing one strike with a branch, executing two quick bottle attacks, and finishing with a second branch hit deals lethal damage to standard Smilers without giving them room to counterattack.
- Katana Spacing: Wielding the katana boosts base movement speed, letting players close distance safely, land two bottle strikes to drop a pursuer, and escape without burning excess blade durability.
Managing these weapon transitions provides practical defense techniques when learning how to survive as a human in servers with aggressive infected players.
Spawn Locations and Pickup Rules
The bottle spawns exclusively on the front counter beside the NPC named Rob in the starting lobby. Players walk up to the table surface and click the bottle cluster to place one into their hotbar.
Rob enforces strict inventory limits. If an uninfected survivor already holds a bottle and attempts to take another, Rob refuses with voice lines such as "YOU THINK THIS IS ALL FOR FREE?" or "WHO DO YOU THINK I AM, A GENIE?". Surviving humans must consume both hits before picking up a replacement. A dedicated Roblox gamepass named 0 Bottle Cooldown removes the pickup cooldown restriction at the counter.
Obtained All Weapons In One Life Badge
The bottle is an item required to unlock the all weapons badge, officially titled "Obtained All Weapons In One Life". Earning this achievement requires holding the entire arsenal in your character inventory during a single life cycle without dying or resetting.
The full item checklist for the badge includes:
- Bottle
- Bat
- Knife
- Handgun
- Shotgun
- Hatchet
- Ice Potion
- Invisibility Potion
Because the bottle and bat remain available at the main lobby counter, collecting the bottle early allows survivors to focus on navigating randomized hazard maps to locate pistols, shotguns, and potion drops before disaster events trigger.
Related Guides
Handgun
Review handgun spawn stages, combat damage, recoil mechanics, and grab defense tactics to survive against smiler swarms in Infectious Smile.
Hatchet Weapon
Learn how the hatchet functions in Infectious Smile, including spawn locations, escape mechanics against giants, and throw accuracy tactics.